Quickstart
Follow this tutorial if you’re using the Skaffold standalone binary. It walks through running Skaffold on a small Kubernetes app built with Docker inside minikube and deployed with kubectl!
This tutorial uses minikube as Skaffold knows how to build the app using the Docker daemon hosted inside minikube and thus avoiding any need for a registry to host the app’s container images.
Note
Aside fromDocker and kubectl, Skaffold also supports a variety of other tools
and workflows; see Tutorials for
more information.
In this quickstart, you will:
- Install Skaffold, and download a sample go app,
- Use
skaffold devto build and deploy your app every time your code changes, - Use
skaffold runto build and deploy your app once, similar to a CI/CD pipeline
Set up
This tutorial requires Skaffold, Minikube, and Kubectl.
Start Minikube
minikube start --profile custom
skaffold config set --global local-cluster true
eval $(minikube -p custom docker-env)
Note
If you want to deploy against a different Kubernetes cluster then you will have to install Docker to build this app. Furthermore if you want to deploy to a remote cluster, such as GKE, then you need to set up a container registry such as GCR to host the resulting images.Downloading the sample app
-
Clone the Skaffold repository:
git clone --depth 1 https://github.com/GoogleContainerTools/skaffold -
Change to the
examples/getting-startedin skaffold directory.cd skaffold/examples/getting-started
skaffold dev: continuous build & deploy on code changes
Run skaffold dev to build and deploy your app continuously.
You should see some outputs similar to the following entries:
Listing files to watch...
 - skaffold-example
Generating tags...
 - skaffold-example -> skaffold-example:v1.1.0-113-g4649f2c16
Checking cache...
 - skaffold-example: Not found. Building
Found [docker-desktop] context, using local docker daemon.
Building [skaffold-example]...
Sending build context to Docker daemon  3.072kB
Step 1/6 : FROM golang:1.12.9-alpine3.10 as builder
 ---> e0d646523991
Step 2/6 : COPY main.go .
 ---> Using cache
 ---> e4788ffa88e7
Step 3/6 : RUN go build -o /app main.go
 ---> Using cache
 ---> 686396d9e9cc
Step 4/6 : FROM alpine:3.10
 ---> 965ea09ff2eb
Step 5/6 : CMD ["./app"]
 ---> Using cache
 ---> be0603b9d79e
Step 6/6 : COPY --from=builder /app .
 ---> Using cache
 ---> c827aa5a4b12
Successfully built c827aa5a4b12
Successfully tagged skaffold-example:v1.1.0-113-g4649f2c16
Tags used in deployment:
 - skaffold-example -> skaffold-example:c827aa5a4b12e707163842b803d666eda11b8ec20c7a480198960cfdcb251042
   local images can't be referenced by digest. They are tagged and referenced by a unique ID instead
Starting deploy...
 - pod/getting-started created
Watching for changes...
[getting-started] Hello world!
[getting-started] Hello world!
[getting-started] Hello world!
Error: Unknown API Version
Skaffold may complain:
parsing skaffold config: unknown api version: "skaffold/v2beta13"
This error indicates that you are not using the latest release of
Skaffold. Cloud Shell may lag for several days after a new Skaffold release. Simply install the latest version of Skaffold.
Error: No push access to specified image repository
If you are deploying to a remote cluster, you must runskaffold dev --default-repo=<my_registry>
where <my_registry> is an image registry that you have write-access to. Skaffold then
builds and pushes the container images to that location, and non-destructively
updates the Kubernetes manifest files to reference those pushed images.
skaffold dev watches your local source code and executes your Skaffold pipeline
every time a change is detected. skaffold.yaml provides specifications of the
workflow - in this example, the pipeline is
- Building a Docker image from the source using the Dockerfile
- Tagging the Docker image with the
sha256hash of its contents - Updating the Kubernetes manifest,
k8s-pod.yaml, to use the image built previously - Deploying the Kubernetes manifest using
kubectl apply -f - Streaming the logs back from the deployed app
Let’s re-trigger the workflow just by a single code change!
Update main.go as follows:
package main
import (
"fmt"
"time"
)
func main() {
for {
fmt.Println("Hello Skaffold!")
time.Sleep(time.Second * 1)
}
}
When you save the file, Skaffold will see this change and repeat the workflow described in
skaffold.yaml, rebuilding and redeploying your application. Once the pipeline
is completed, you should see the changes reflected in the output in the terminal:
[getting-started] Hello Skaffold!
✨
skaffold run: build & deploy once
If you prefer building and deploying once at a time, run skaffold run.
Skaffold will perform the workflow described in skaffold.yaml exactly once.
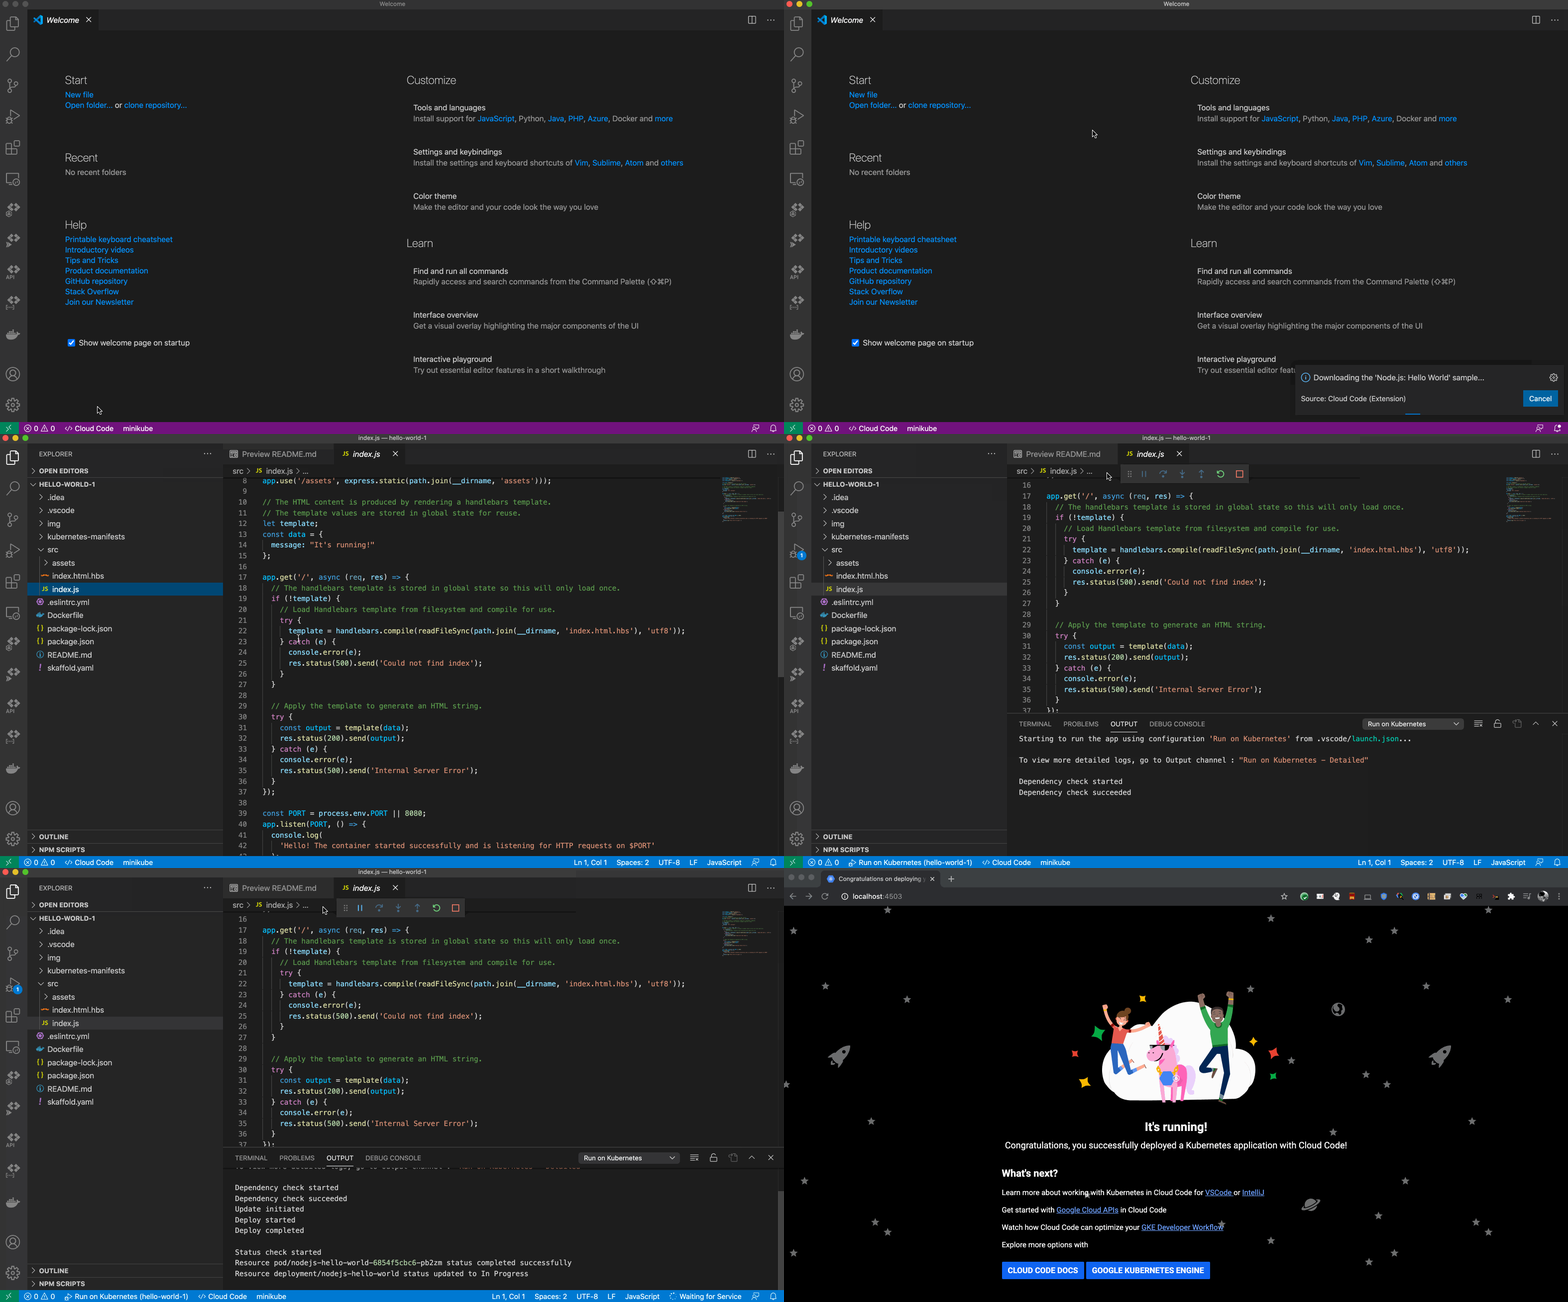
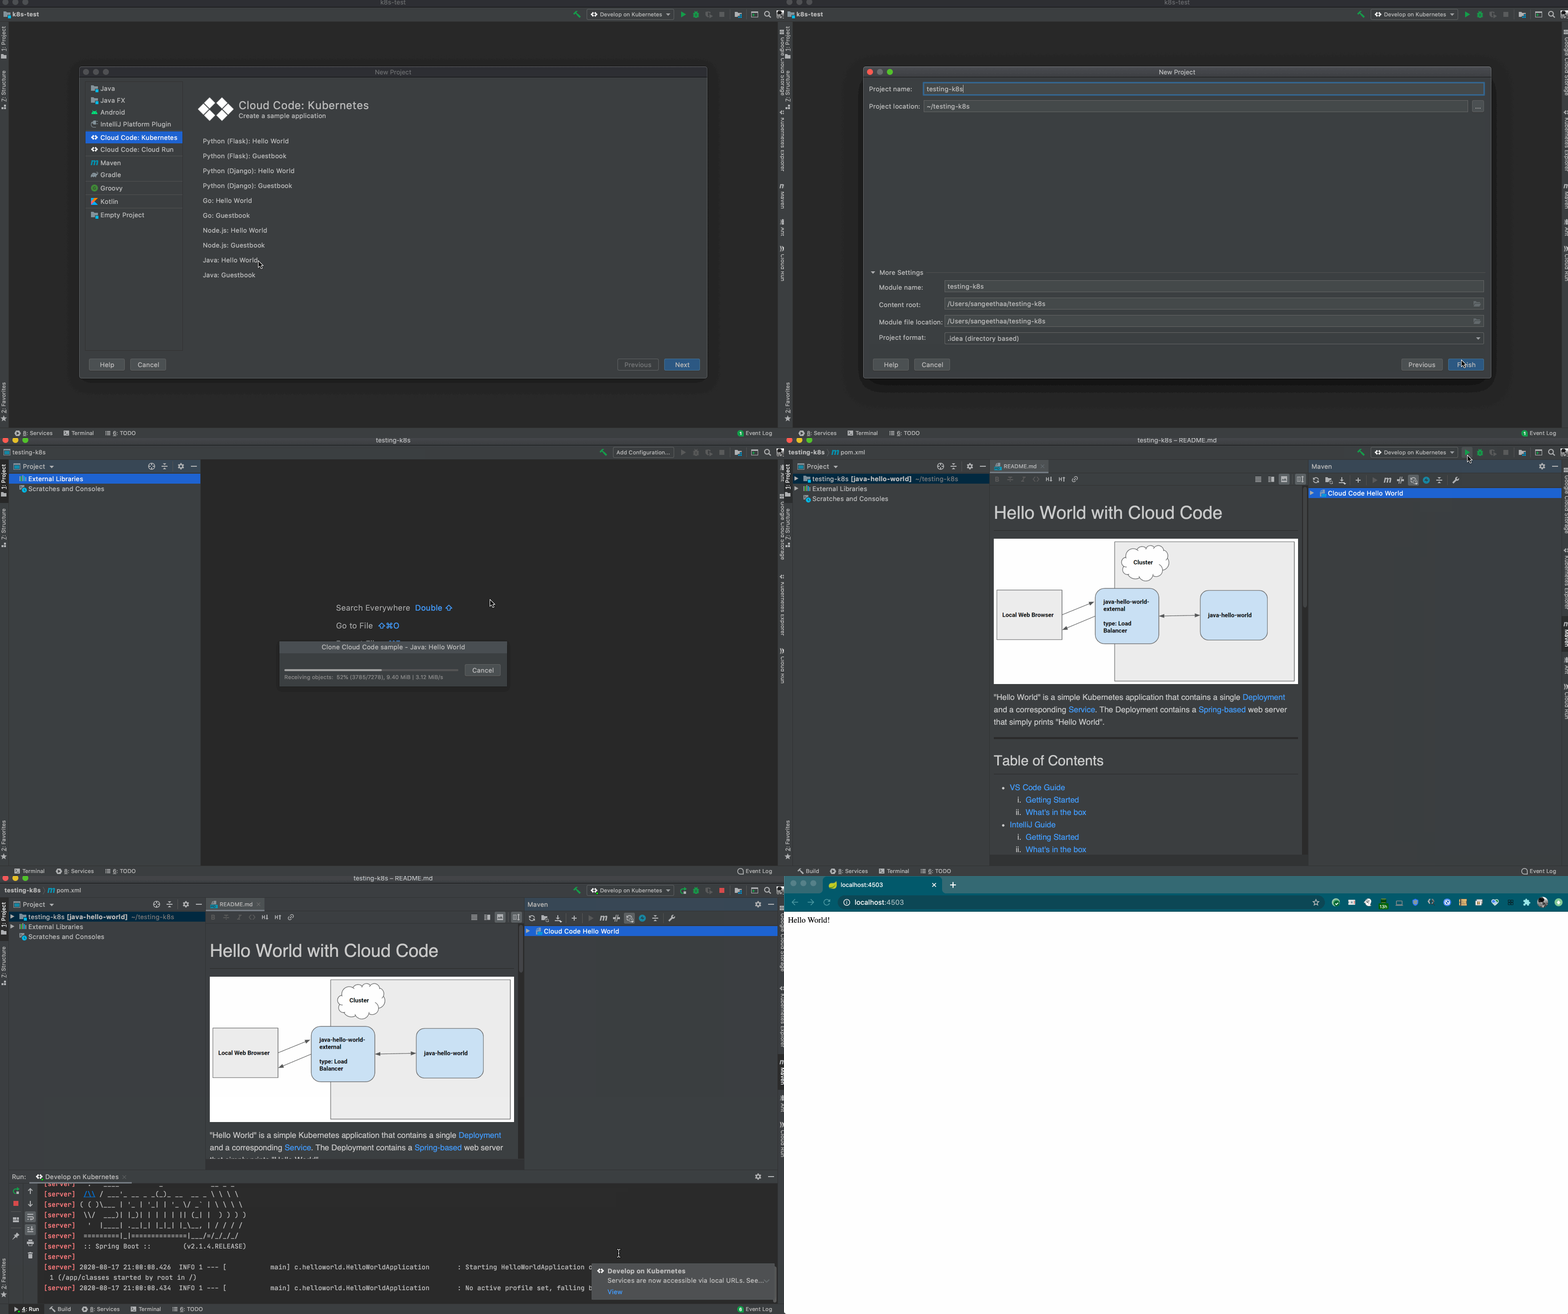
Follow these quickstart guides if you’re using Skaffold with the Cloud Code IDE extensions:
Cloud Code for VSCode
Create, locally develop, debug, and run a Kubernetes application with Cloud Code for VSCode.
Cloud Code for IntelliJ
Create, locally develop, debug, and run a Kubernetes application with Cloud Code for IntelliJ.
Skip any setup by using Google Cloud Platform’s Cloud Shell, which provides a browser-based terminal/CLI and editor. Cloud Shell comes with Skaffold, Minikube, and Docker pre-installed, and is free (requires a Google Account).
What’s next
For getting started with your project, see the Getting Started With Your Project workflow.
For more in-depth topics of Skaffold, explore Configuration, Skaffold Pipeline, and Architecture and Design.
To learn more about how Skaffold builds, tags, and deploys your app, see the How-to Guides on using Builders, Taggers, and Deployers.
Skaffold Tutorials details some of the common use cases of Skaffold.
Questions? See our Community section for ways to get in touch.
📣 Please fill out our quick 5-question survey to tell us how satisfied you are with Skaffold, and what improvements we should make. Thank you! 👯


